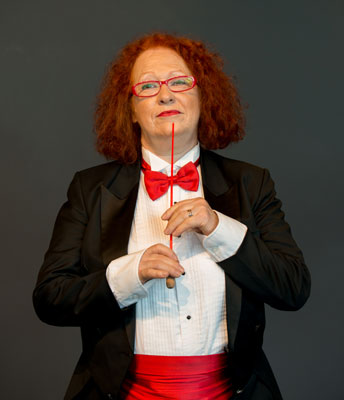
Portraits & Headshots
Rebrand yourself.
Corporate, business, linkedin, actor headshots, fashion photography, and modeling portfolio.
I install at your location my portable studio to minimize your downtime and maximize your investment.
My services include:
- On set touch-ups
- On set makeup
- Professional editing
- Friendly and fun team
- Professional editing
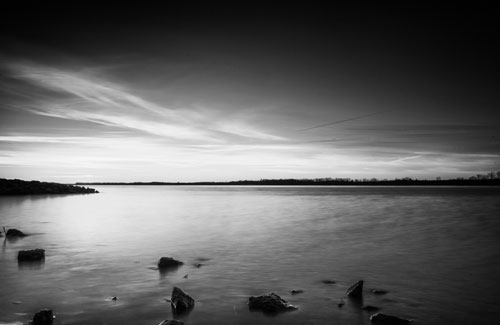
Fine Art Prints
If you are looking to hang some piece of art on your walls, don’t look further. I have multiple Fine Art Photographs at various size that you can directly order and have them print on High Quality Photo paper, a cost effective solution compared to what you may find.
Extreme High Resolution Photos
I am equipped to deliver billboard photography services and even largest photo prints at 100% magazine quality (600dpi).
Whether you need to have a photo to be printed on a few meters wide or tall, please talk to me with your requirements.
I can photograph in Extreme High Resolution any type of subject (portrait/headshots, people, landscape, product (small and large), macro, etc…) and have it printed at 600dpi on meters lengths.
Let’s get in touch right now for your next project in Extreme High Resolution Photography.
Scuba-Diving Documentary
Whether it’s to document underwater training, processes, procedures or to document underwater wildlife, I am a PADI Rescue Certified Scuba-Diver equipped with the latest technology to photograph or record motion graphics according to your requirements.
You have a project in mind? Let’s chat about it!

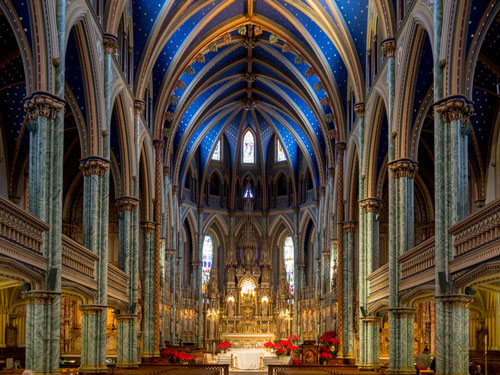
Architecture & Interior Design
On completion or in construction, for documentation, marketing, renders, heritage applications.
I provide residential architectural photography, commercial architectural photography, interior photography, landscape architecture photography (and straight up landscapes) and photograph retail and hospitality venues. I enjoy capturing homes, shops, warehouses, showrooms, cafe’s, restaurants and bars interiors, and their atmosphere.
Photography from the ground to ceiling level and from the skies using my drone, a larger drone or helicopter. With or without people, staging and / or pets.
I’m also experienced in construction photography, photography for visual impact studies and base photography for renders and visualisations.
I love photographing amazing buildings and spaces. If your project is sensational, or if you’re just starting out, I’ll help you out with a great rate and great images. Give me a shout and we can discuss.
Affordable Stock Photography
Are you a content creator, a journalist, and editor?<br>
Are you looking for photographs to illustrate your articles or publications?
Look no further. I have thousands of high-quality photographs ready to be downloaded on Alamy.
Click on the link below to start browsing my content.